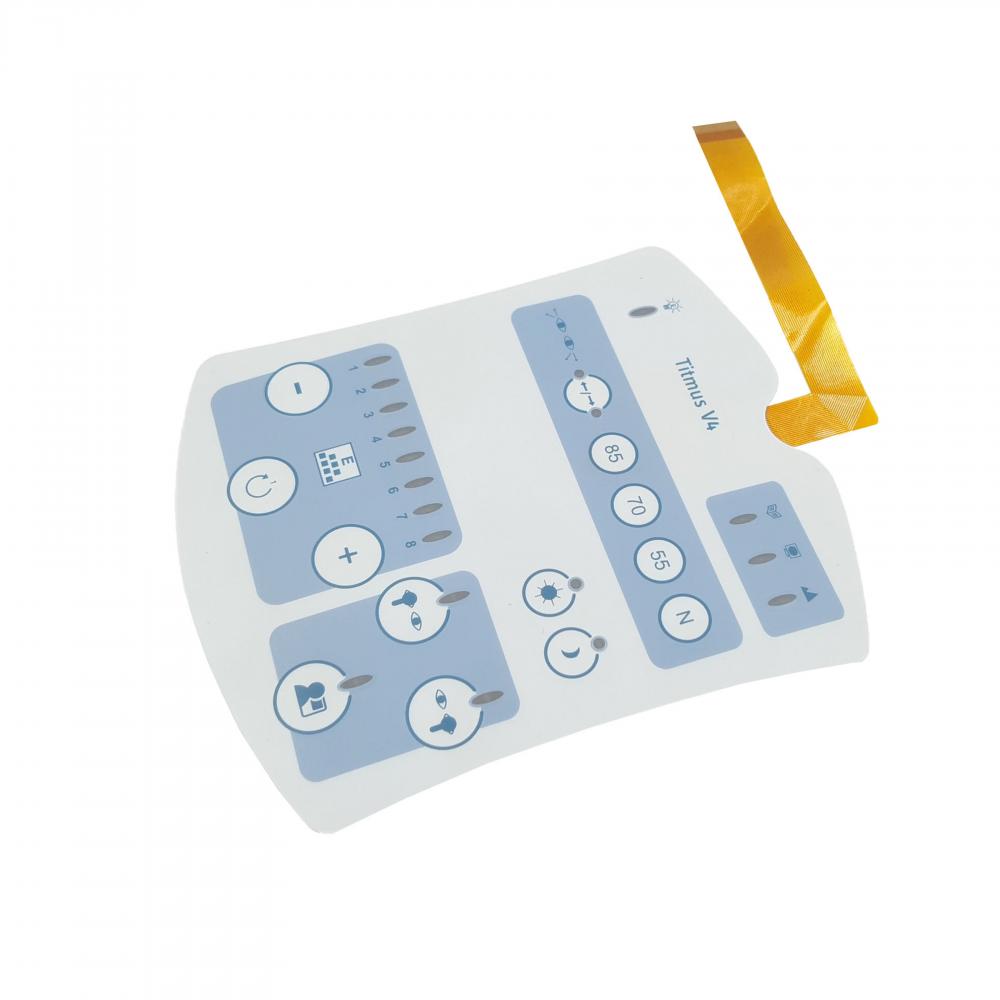
1. Put the silk-printed line into the oven for 40 minutes at 115 degrees Celsius. 2. After the Membrane Circuit is baked, simply assemble a piece, test whether the circuit has short circuit, open circuit, excessive resistance and other phenomena, and correct the problems in time. 3. Stick the tail line: after testing the single-line resistance of the baked line, stick the tail from the outlet hole to the 1mm place where the carbon pulp coincides with the appropriate transparent adhesive. 4. Tail line: Use a ruler with glue to line the inside of the outlet hole from top to bottom to the tail line. 5. Make interlace: Membrane Keypad,lay a piece of waste line flat on a suitable interlace and stick it, tie down the center point of the line key with an awl, then draw a straight circle of 10 on the center point with a compass and knock it down. After knocking the circle, use a blade to knock a ventilation slot of 2mm between the circle and the circle. Note that there should be at least 3 circles connected. At the same time, care should be taken not to pass through the upper and lower line crossing points. 6. Assembly line: first of all, the delimited circuit is pasted on the inter-layer of the hole that has been prepared. When pasting, the silver paste point should be placed in the middle of the inter-layer hole (note that the method should be as little as possible to stick bubbles) and then pasted on the line. 7. Glue: Paste the glue that has been knocked on the circuit. 8. Veneer glue: Membrane Keyboard,Paste the well-punched glue on the line. 9. Punching: Paste a waste panel on the assembled line, align the four corner lines to expand the transparent hole by 1 in 4 weeks. 5 mm stapled to the fitted line and knocked down with a suitable blade. Make sure you don't hit the line. 10. Stick panel: Stick the detected panel on the line. Note that the 4 Angle lines are aligned, and bubbles on the glue should be scraped flat, stick to a transparent window to see whether the window is stuck. 11. Tail line treatment: cut the tail line flat, do not hit riveting needle on the back of the carbon pulp with a layer of 0. 125 single-sided glue PET, the need for riveting needle will face down on the riveting needle. 12 molding: the panel has a through hole to find the right mold to knock it down, forming. The mold is formed during mass production. 13. Detection: first of all, visual inspection, to see whether there is any deviation in appearance, poor Screen printing. Then according to the principle of the line to detect the keys one by one. See if there is short circuit, short circuit, excessive resistance and other undesirable. 14. Clean up the packaging before delivery


